You’re giving Guided Reading instruction a try. Great! Do you know what you should be doing with your Guided Reading groups and reading instruction? You’re going to teach students to read. But what does that mean?
We teach in upper elementary (usually Grade four or five) which means we have readers in our classroom reading from Grade one through to Grade six. We have English Language Readers, students with learning difficulties, avid readers and all the ones in between. This means we often need to use more than one strategy to teach reading.
Guided Reading Instruction Teaches Reading
There are two components to teaching reading: decoding (figuring out what the words are) and comprehending (understanding what the words mean). For this post, we’re going to focus on comprehension. This post refers to our Comprehension Check which you can use to track the comprehension skills of your students.
Have you ever had a parent tell you their child is reading some book WAY above their reading level? This happens all the time. In our province, there is a big gap between reading expectations in Grade three and reading expectations for Grade four. This gap is a jump that not all students can make independently.
This is because we shift from decoding to comprehension and for many parents, understanding this shift can be a challenge. Basically, just because a student reads fluently doesn’t mean they understand a word of it. This happens a lot with English Language Learners. Once they’ve figured out how sounds are created using the letter symbols, they can sound like they are reading, but once you ask a few questions you can easily understand there are lots of gaps in understanding.
I can read you a whole book in German. It doesn’t mean I understand it.
Generally, your lesson plan for Guided Reading is just one part of your overall reading instruction.
Before we get any further, this post is part of a series. If you are just starting reading instruction in your classroom we recommend you read Help! I Don’t Know How to Teach Reading first. We also have posts about How to Teach Small Groups and Keep the Rest of the Class Busy and How to Prepare For Your Reading Groups.
Let’s Work Through a Lesson
The timeline given is just a rough estimate. Depending on your students, the material they are reading and the time you have dedicated to your group, you can adjust the time you allot to each section.
The point is that you can fit a lot of teaching into a short amount of time.
Provide a purpose for reading (5 minutes)
When your students come to the reading table, you need to give them a specific skill they will be learning, practicing or reviewing. Be clear and concise. Here are some examples:
- We’re going to read this paragraph and look for words that students in our class might not know the meaning for. (self-monitoring our vocabulary)
- We’re going to read this paragraph and look at how the author describes the character. (analyzing author’s craft)
- We’re going to read this paragraph and compare so and so to someone. (analyzing character traits)
- We’re going to read this paragraph and think about how this is similar/different to our own lives. (making connections)
- We’re going to look for text features to decide which genre we’re reading. (text features)
When you ask students to read the material, always give them a reason. That reason can be as simple as “to see what happens next” but when you give students a purpose, they begin to learn ways to describe and talk about what they are reading because you are giving them something specific to talk about.
Talk about the book (5 minutes)
So often teachers give students a writing task to show they’ve read and understood the material, but there is an inherent flaw with this type of assessment. The assumption is that every student can express themselves well in writing. We know that’s not true. Instead, at the table, we try to teach students ways to communicate through speaking about what they’ve read.
Model how to talk about the book (5 minutes)
We use sentence starters as one way to get students to talk about what they’ve read. We use open-ended questions and explicitly teach students how to agree and disagree with each other so they can have discussions without our guidance.
Create small table-sized anchor charts with your reading groups. As you learn skills, write hints and tips down so your group can refer to them.
We keep a binder with plastic pages in it at our table. Each group has a section of the binder. When we talk about a new topic or skill we make a page for it on a blank piece of paper and add it to the binder. When we add to or review a skill we update the page. Students know they can refer to the anchor charts to help them discuss everything we read. Eventually, they don’t need the charts because they have learned the skill.
As a bonus, the charts help you keep track of what you have or have not taught each of your reading groups.
Some of the charts we’ve created are: text features for fiction and nonfiction, character traits, problem and solution, types of conflicts, genres, and even a page for vocabulary we’ve come across and think is important enough to learn (student-led choices of course).
Listen to one student read (5 minutes)

Each time you sit with a group, the goal is to sit and listen to one student read. The purpose of this time is to see how well the student can read and understand what they’ve read. It is also the time for some one-on-one teaching that can benefit a particular student.
The other members of the group will be reading the same text, but they will be reading silently, using the purpose you’ve given to them. The rest of your class will be doing whatever you assigned to them before sitting down at the table. If you’re struggling with interruptions, we recommend How to Teach Small Groups and Keep the Rest of the Class Busy or any of our Weekly Reading Skills Sets on TpT ($USD) or our BN Shop ($CAN).
Pull one student to the side who will read out loud for a section. We try to have this student just far enough away from everyone else that they can read out loud quietly without everyone hearing. This helps reduce the stress of reading in front of other people.
Listen to the student. Are they self-correcting? Do they pronounce words correctly? Slow down or speed up? Do they reread when something doesn’t make sense? Are they using the punctuation as the author intended? Are they stressing words or phrases to enhance understanding for the listener?
Do your best to not interrupt, intervene or stop the student until they get to the end of the passage.
All of these skills are part of decoding, but they can impact comprehension. If your student is not doing any of the above skills, you will need to model, teach, practise each of these skills whenever possible, but wait until they finish reading so you don’t teach them you’ll stop and fix it for them.
Teaching students to self-monitor can be a challenge if they have learned to wait for help when they get stuck, but we’ll go into that in more detail in a later post.
If the decoding sounds like it’s on track, then it’s time to focus on the comprehension skills. You will need to choose the skills based on the purpose you’ve given students.
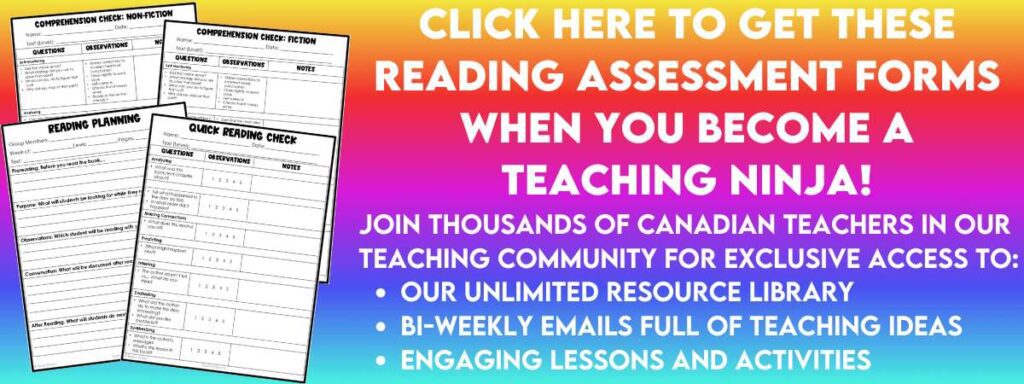
Use the questions on our Comprehension Check as a guide for questions you can ask. These also work as points when setting the purpose.
Assess that one student (2 minutes)
Listen to the student’s answers. Record how well you believe the student understands. When you are first starting with your students you may need to teach them what a good answer sounds like.
For example, when you ask, “Tell me what happened in this story,” you might get a long, drawn out list of details that sort of wanders around the plot or you might get one or two details without any mention of the main idea. This tells you the student needs to be taught how to summarize and how much information is the right amount to give in an answer.
This is where the teaching comes in. Model exactly what a great answer sounds like. This can also happen during your Talk About the Book phase or the Model How to Talk About the Book part of the lesson so that all your students benefit from it.
Make a note about what the student is doing well and what the student can work on in the future.
Give that student feedback (1 minute)
Tell the student something they are doing well. Appreciate what they can do and tell them how it helps them as a reader.
Give them a tip or pointer that will help them develop another skill. This can be especially effective if it is something you can practice with them immediately.
For example, if a student is reading quickly, but doesn’t use stress on the right words, model it and then have the student practice it a few times. When they do it correctly, be sure to praise it and remind them to work on reading with the stress on the correct words when they read because it will help them make meaning of what they read.
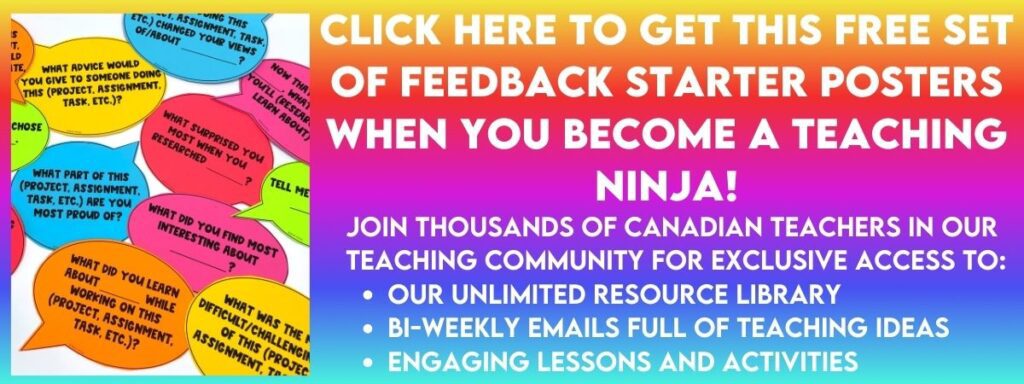
We use these Feedback Posters to help us give feedback. For more information about giving feedback, try this post.
Read again (2 minutes)
Read a bit more with the student, letting them use the new skill. If the skill was about answering a question, set them up with enough material to try answering a similar, but different question. Record this information as part of your ongoing assessment on the Comprehension Check.
Talk with the group (5 minutes)
Come together as a group and discuss what they have read based on the purpose you set at the beginning of the lesson. With any luck, your students will have read about the same amount of text. As you get to know your readers you’ll be able to better gauge how much time it takes to read.
Update your anchor charts based on the skill you’re practicing.
Have a discussion about the book, modelling how to talk about the book using the skills you’ve been practicing.
Assign more reading with a purpose
Send students back to their seats with more reading to do independently. This reading still needs a purpose (look at that skill you’re teaching). For the group, give them the purpose before they leave, but for the student that read with you, remind them of the skill they are going to practice based on their individual reading.
Now that you’ve worked through the lesson, you can make a few notes about what you want to teach next, who you’ll read with and what they read.
You’re doing it! This is Guided Reading!
Yes, teaching students to read is hard, but it can be so rewarding when they get it. In the upper grades, we often think we don’t need to teach reading, but the truth is we need to teach reading even more because students will need to be able to read for all of their subject areas.
We switch from learning to read and instead read to learn, so it is so valuable to learn skills that will enhance comprehension.
Are you looking for other Language Arts ideas?
- Give Your Reading Instruction an Easy Twist
- How to Teach Reading With Book Clubs
- How to Use Google Meet to Run a Book Club
- Research Skills: How to Teach Text Features
- How to Celebrate Poem in Your Pocket Day
- Practical Strategies for Reluctant Readers
- Add Great Content to Your Literacy Lessons
- How to Set Up Your Reading Comprehension Schedule
- Challenge Your Students with Writing Activities Every Day
- 22 Amazing Ways to Use Word Wall Words
- How to Include Different Types of Writing in Your Classroom
We still have so much to teach you, but know that the only way to get better at teaching reading is to do it regularly. You just have to step into it and start. You will get the hang of it and as you read with more and more students you’ll be able to refine your skills and you’ll be able to identify the ones that you need more help with in order to teach them effectively.
Now that you’re into your Guided Reading program, what are you still struggling with? Leave us a comment or send us an email and we’ll see what we can do.

