Our classroom chemistry unit is one of our favourites to teach because it allows for so many opportunities for students to explore and experiment. Sometimes, we let students explore on their own by posing questions to them. Other times, we demonstrate experiments. Either way, experiments take a bit of work to set up, do, and clean up. Don’t let that stop you. Here are some of our favourite chemistry experiments!
Generally, we do a whole chemistry unit. These experiments are only one small part of our overall unit, which takes about three months. Getting your classroom ready for a chemistry unit is the first step. The items in these lists are basic items we keep in the classroom during the unit, though some experiments require specific materials.
Things to Collect for Chemistry Experiments
When we first began our chemistry unit, we went through a box of materials that were left behind for us to use. Most of it was garbage and needed to be tossed, but there were a few items that we found we needed over and over again. The items in this list are reusable and can be used throughout all your science units.
- measuring cups with the measurements on them
- measuring spoons with the measurements on them
- good quality sieves
- iron filings
- magnets
- a fan
- a large container that can hold water (like a bin or small tub)
- plastic/reusable cups and bowls
- reusable spoons, forks and dinner knives
- small glass jars (baby food size)
- medium size jars (jam/spaghetti sauce size)
- test tubes
- beakers
- cloths for clean up
- small brooms and dustpans for clean-up
Household Materials to Collect for Chemistry Experiments
We asked our students to send household items that we could use for our day-to-day experiments. They brought the items in labelled jars or plastic bags. These are the materials our students use during the unit.
- flour
- white sugar
- baking soda
- baking powder
- cornstarch
- salt
- pepper
- liquid dish soap
- coffee
- tea
- clean sand
- sawdust
Household Materials We Buy for Chemistry Experiments
These materials used for specific experiments are a little more difficult to find, are for specific experiments, or shouldn’t be left with students unsupervised. These items are used up during the unit, or we store them at the school if any are left over.
- rubbing alcohol
- vegetable oil
- food colouring
- pipe cleaners
- Borax
- alum
- Epsom salts
- bluing solution
- ice cubes
- coffee filters
Teach Basic Chemistry Safety
The majority of the experiments students do in our class can be done safely without much supervision. That being said, we teach our students from the beginning that they should not be tasting or eating our science projects unless they are given express permission.
Even science projects that use materials that seem edible can be a problem. You never know what was in the container before your “edible” experiment. Students are taught that chemistry experiments and edible experiments need to be kept apart.
Teach the Scientific Method
We teach students to use the scientific method when completing an experiment. This doesn’t have to be a long, drawn-out process as we review it for every single experiment we do (that doesn’t mean students have to write out every single step).
Generally, we teach students that the purpose of the scientific method is so that other scientists can replicate the experiment. If you’ve done it correctly, other scientists should be able to get the same results.
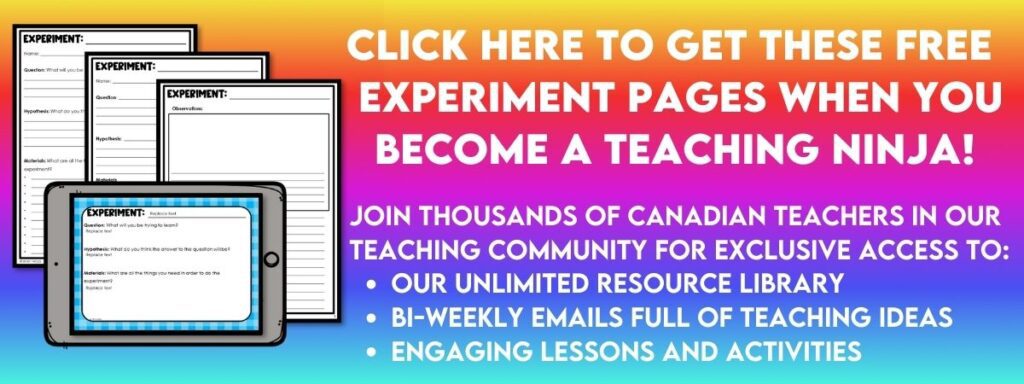
When we’re doing experiments, we use these experiment pages. You can grab a copy in our Resource Library, or we’ll send a set directly to your inbox when you join our email list.
Chemistry Experiments You Can Do
A Toothy Experiment
Materials: teeth (ask students for their old baby teeth or use hardboiled eggs), baby food-sized jars, different liquids that people drink (orange juice, cola, coffee, tea, lemonade, milk, water), a tray
Question: Which liquid will decay the tooth/egg the most after one week?
Hypothesis: Have students choose which liquid will decay the tooth/egg the most after one week.
Procedure: Label each of the jars with a different liquid. Fill each jar halfway full with a different liquid. Place one tooth or the egg in each jar. Record your observations. Please the jars on a tray and store them in the refrigerator. Observe the jars again each day for a week. If there is not much change, view the jars every two to three days. Record all the observations.
Ninja Note: You can leave the experiment in your classroom if you don’t have a refrigerator, but be warned the milk and eggs will rot and stink.
Observations: Students can write down what they see.
Conclusion: Acidic liquids decay the tooth/egg faster. This is why dentists want us to look after our teeth.
A Chunkier Experiment
Materials: a can of Red Bull, a cup of milk (the more milk fat, the better), a large glass or jar, a spoon
Question: Can two liquids make a solid when mixed?
Hypothesis: Students will write their decision. If they have any facts to back up their point, they should include them.
Procedure: Pour the Red Bull into the glass or jar. Add the milk. Observe.
Observations: The milk will curdle and create clumps of solid material (called precipitate).
Conclusion: When the milk and Red Bull combine, a chemical reaction occurs, creating a new product (precipitate).
You can find other people doing this experiment online if it is not an option for you, but be sure to preview any video before showing it to your students.
The Messiest Experiment
This one is a classic chemistry experiment that is best done outdoors, where the mess can evaporate.
Materials: one 2L bottle of Diet Coke (or no-name brand diet cola), one package of Mentos
Question: What will happen when the mentos are dropped into the Diet Coke?
Hypothesis: Students will decide what they think will happen.
Procedure: Open the bottle of Diet Coke and place it away from the crowd of students where it can spray without making too much mess. Cut open one end of the Mentos package and loosen the packaging so they can slide out of it. Drop the package of Mentos into the bottle and run away.
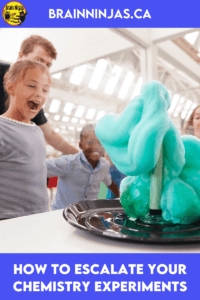
Observations: The Diet Coke will fizz and spray out of the bottle. When the fizzing stops, most of the Diet Coke will not be in the bottle.
Conclusion: The Mentos and the Diet Coke create a gas that pushes the Diet Coke out of the bottle. When two products create a gas, it is a chemical reaction.
Ninja Note: You can get a similar reaction by dropping antacid tablets into the water, but you’ll just get bubbles instead of the “explosion.”
You can find other people doing this experiment online if it is not an option for you.
Chemistry Resource We’ve Created
We’ve created several resources to help you get through an entire classroom chemistry unit. Each of these sets comes with complete lesson plans, materials lists, student pages, student templates, answer keys and when possible, photos of student examples.
States of Matter
This set of activities helps students learn about solids, liquids and gases. Find it on TpT ($USD) or our BN Shop ($CAN).
Mixtures and Separation Techniques
Teaches students about the different types of mixtures such as suspensions, solutions, and emulsions. Find it on TpT ($USD) or our BN Shop ($CAN).
Chemical & Physical Changes
Helps students understand the difference between reversible and irreversible changes along with evidence of chemical changes. It includes task cards and a digital game. Find it on TpT ($USD) or our BN Shop ($CAN).
Chemistry STEM Challenges
Students can explore different experiments to practice the scientific method while learning basic chemistry concepts. These make great centres or demonstrations. Find it on TpT ($USD) or our BN Shop ($CAN).
Acids and Bases
This set helps students understand the difference between acids and bases and how they are measured. Find it on TpT ($USD) or our BN Shop ($CAN).
Crystals
Students grow different types of crystals. Some of the crystals use basic household materials like salt or sugar, but recipes for alum, bluing, Epsom salts, and Borax are included, too. Find it on TpT ($USD) or our BN Shop ($CAN).
Support Materials
We also have support materials for the unit.
This set of Chemistry Reading Passages is a great way to help students gather some background knowledge between experiments. Find the reading passages on TpT ($USD) or in our BN Shop ($CAN).
This Digital Review Game is a self-checking game to review all the chemistry basic concepts. Find it on TpT ($USD) or in our BN Shop ($CAN).
And all of the above sets come in one big bundle, where you get a discount. Find the Chemistry bundle on TpT ($USD) or our BN Shop ($CAN).
If you teach Language Arts, we have a set of reading passages that include word and comprehension activities. There are several different topics related to chemistry.
Fireworks Find it on TpT ($USD).
Peanut Butter Find it on TpT ($USD).
Green Ink Find it on TpT ($USD).
Insulin Find it on TpT ($USD).
They also come in a Canadian Chemistry reading bundle at a discount. Find it on TpT ($USD).
Do You Teach Science?
We have written other posts about science topics.
- Engaging Electricity Lessons to Shock Your Students
- How to Grow a Healthy Classroom with Plants
- Engaging Weather Lessons All In One Place
- How to Learn About Wetlands Without A Pond
- 15 Simple Machines Activities that Will Hook Your Students
Do You Have a Favourite Chemistry Experiment?
We want to hear about it. Share it with us in the comments below.

