With more and more students having to complete their schoolwork online, there are some advanced tech skills you should teach your students to help make both your life and their lives easier. Technology often comes quite naturally to the generation that can usually set up a device or figure out a new video game within minutes, but the technology we use in the classroom is often more related to productivity tools and isn’t as intuitive.
What skills do you find you have to teach over and over again? We made a list with our students and then made list for you.
Before You Start With Technology Skills
It is of course easier to teach these skills in person and with actual devices. We know this isn’t always possible because not all schools have these options, but we have written this post with a best-case scenario and then suggestions for how this could be practiced.
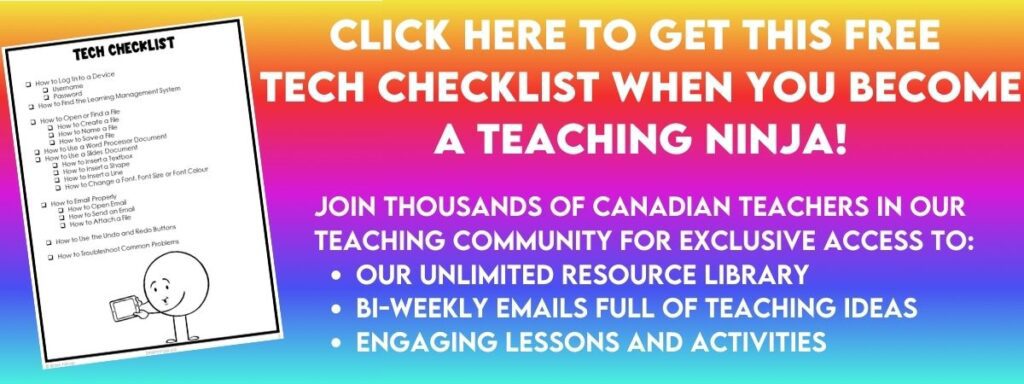
If using devices and different software is brand new to your students, we recommend that you start with the basics. We have written another blog post that focuses on the first steps: Must Know Tech Skills You Should Teach Your Students. It comes with a Technology Checklist that you can find in our Resource Library, or we can send it to you when you sign up for our email list.
While we call these skills “advanced tech skills,” these are advanced for our elementary students. Of course, there are even more advance skills that your students might be able to develop in a technology specific course or class, but this is an overview of tech skills students would use in any subject area.
Advanced Tech Skills For Students You Should Teach

Cut, Copy and Paste
This is the one skill our students are constantly using. We teach our students to copy their own slides or text before making major modifications just in case they mess up and need to try again.
Teach your students to highlight the text and then use the right click feature on their mouse or trackpad to choose cut, copy or paste. Make sure your students understand the difference between the terms.
Keyboard Shortcuts
Once your students understand these features, teach students the keyboard shortcuts which can be very handy.
We teach our students to use:
- For cutting use Control (Ctrl) + X
- Copying can be done with Control (Ctrl) + C
- And use Control (Ctrl) + V for paste.
Using Images as Advanced Tech Skills For Students

Upload an Image from Another Source
Since our devices don’t allow students to store information on them, we teach our students to email themselves images from home when possible. We always encourage our students to email themselves because they are going to be the ones who will need to access the images while they work.
Some of our students have learned to use the webcams on their devices to take photos and many use other devices like smartphones or tablets to send themselves images or documents.
One app we recommend is the Evernote Scannable app. This app allows students to scan a document. The app turns it into an image or a PDF and then prompts the user to send it.
Avoid Stretching and Warping
One of our pet peeves is when a student uses an image and then stretches it out, warping the image. We try to teach our students how to resize or move the images by clicking on the corners instead of stretching out the sides.
Cropping Images
Images that are too big can be cropped to better fit. When a student needs part of an image, they can use the crop tool to slice off the parts of the image they don’t need.
Image Sizes (by Pixels)
Sometimes when students insert an image, it looks grainy or pixelated. This is because the resolution of the image is too low for the size that it is taking on the slide. When using Google Search Tools, students can filter images by pixel size.
While an image that is too small will look grainy, an image that is too large will fill up the file and might make the run or load speed slow down. We tell our students to use the smallest image that still looks good.
Citing Sources
Copyright and how to avoid infringement is an important life skill. While copyright is often acceptable for educational purposes, it is important to explain that any time a person uses any material that another person created, it should be cited (give credit to the person who created it).
There are a lot of misconceptions out there that copyright can be violated just because it’s being used for school, but that’s not exactly true. It’s also not true that just because you cite a source that it keeps you out of trouble regarding copyright infringement.
The problem is that copyright and trademark law are two very different things that overlap.
Many books, titles, characters, likenesses, logos, names and phrases are trademarked. This means they are protected by law and the owner of the trademark gets to decide when and how it can be used.
So, we encourage our students to stay away from trademarked items. We show them how to learn about which images have copyrights and what the terms of the copyright are.
And we teach them to include where (in detail) they have found any images they’ve used. When using Google Search, you can use the search tools to find images that are marked for commercial use. While this is a good start in your search, it is still important to research the copyright of the image. Trace the picture back to the first time it was uploaded.
Once students have found an image they plan to use, they should include the link of where it can be found.
Using Suggested Edits

This feature is available on Google Tool products and might be different depending on the software you own.
Basically, the idea is that when using suggested edit mode, a writer or editor can make changes or suggestions to their work. These changes are saved to the side where the writer can contemplate whether or not the work. They can choose to use the changes or delete them.
We use this strategy for peer editing. This way the writer can see the suggestions, but their original work is not altered.
Taking Screenshots
This was a skill we discovered students needed when the pandemic happened and suddenly we were being inundated with technology questions that we couldn’t see.
Teach your students how to take a screenshot, which will be different depending on the device they are using.
We have added an extension to our Chrome Browser to skip this step. The Chrome Web Store has a wide variety of still shot and video recording options.
Word Processing Documents
How to Format a Page
Teach your students how to add some basic formatting items to their pages to save time.
Add page numbers if the document is going to be a few pages long.
Add a header with the student’s name so they don’t have to worry about writing their name on their pages. This is VERY helpful if your students will be printing out their documents on a public computer.
Teach students about fonts. While all the fancy fonts are lots of fun (fontaholic here), they aren’t always easy to read. Reserve fancy fonts for titles or title pages. Keep the body of text in a basic and clear font that is easy to read.
Size matters. We try to teach our students to make the font smaller when it means the next page will be wasted. This might mean using a slightly smaller font or changing the spacing.
We usually have our students double space their written work since it’s easier to write in comments, but we train our students not to waste paper.
Teach your students how to use the centre formatting with the tools in the toolbar. Many students are still trying to add spaces to get the title in the right place and it never works.
Students can also learn how to justify the text to the left, right or fully justified across the page.
Slide Documents
We generally use Google Slides in our classroom because that is what is available to us. Our students have created writing portfolios where they keep all their writing samples from the room. These are added either by taking screenshots or uploading scans or photos of their writing.
Formatting Slides
One of the first things we teach students is how to change the size and orientation of the slides. In most slide software like Microsoft PowerPoint or Google Slides, this can be found under the file settings or page set up.

Teach your students the difference between portrait and landscape orientations. This will come in handy during other lessons like art, so this is a language your students should know.
We teach our students to use themes when we are making something that is quick or starts with a completely blank slide when they are going to be building it from scratch. We try to teach students that the tools are designed to help you be more efficient, so don’t spend time on the details until the main work is done.
Teach students how to format text boxes by aligning them or distributing them. This can help make text boxes line up or be centred and it’s way more efficient than trying to eye it.
Sharing Settings
Teaching students how to properly share documents or files with you will save you plenty of time.
If you use Google Classroom, many of your sharing issues will already be solved. You can read more about using it in your class: Use Google Classroom to Make Your Life Easier.
We have students practice this by creating and sharing a document as a group while including us in the sharing. This way we can observe as the students work together.
Teach your students to attach a file from their computer or Google Drive to an email so they can share it with others.
Advanced Tech Skills For Students Should Be Versatile
While it’s tempting to teach students a program or a certain piece of software, that won’t serve them well as technology is constantly evolving. Instead, try to focus on the skills that will work regardless of which piece of software they will need.
We try to stay focused on the big tech skills when we’re teaching the skills explicitly. The more nuanced skills of specific programs are often solved as we work with specific assignments. We encourage our students to become the tech experts and share their knowledge with classmates.
One strategy is our expert anchor charts. When we come up with a skill that no one knows how to do (for example, taking a photo with a webcam and inserting it on a slide), we write this onto a blank piece of chart paper. As students figure it out, they write their names under the skill on the chart.
When another student needs help, they have a list of students who can help them out. This works with everything-not just tech stuff.
We start each year teaching with our Online Safety and Digital Citizenship Unit to make sure students have the basics. You can find it in our TpT Store ($USD) or our BN Shop ($CAN).
What other tech skills do you teach your students? Leave us a comment so we can add it to our list.


